|
Hairbraiding basics - how to get startedOk, you've got all your threads, tools and beads ready, cut your threads, and checked out the hair preparation page , so now you're ready for the hairbraiding basics - and we'll start with how to begin your braid. I'm going to show you the neater, but slightly harder way of starting off a braid first. It's worth trying this a few times to get the hang of it because it does look a lot better than tying the threads at the top of the braid. Most people find this the hardest part of learning how to braid hair. You might find it helps to practise on a piece of string first. If after a few tries you find you can't get it, don't worry. I'll show you the easier way too.
Working positionFirst, make sure you are in a comfortable position. You'll be there for a while, and you don't want to be leaning over getting back ache after a few minutes. Usually it works best to have the person whose hair you are going to braid sitting on a dining chair or other straight backed chair while you stand to the side of them. Arm chairs and sofas are difficult because you can't get close enough. They need to be at a height where you can easily see and reach the top of their head, but not so low that you have to bend over to do so. Very small children may need to be sitting on a lap or on cushions to be high enough. If you have to reach down, find a stool to sit on, or kneel, or bend at the knees instead of leaning over. The threadsI'm assuming here that you've been to the thread cutting page and cut the threads to the length you need? You need to get all the threads in a bunch together with all the top ends even. They don't need to be exact, you can trim them at the end, but they need to be fairly neat.
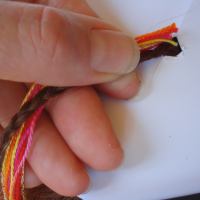
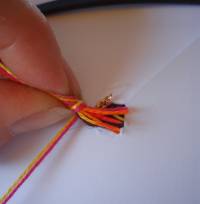
Place the tops of the threads at the top of the plaited hair that you prepared, holding the bundle of threads and the plaited hair all together between the thumb and finger of one hand (left hand if you are right-handed, right hand if you are left-handed, so that you keep your better hand free to work with).
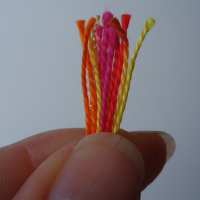
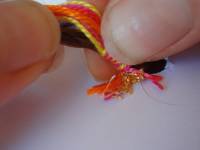
Winding the first threadsSelect the tops of two threads, and pull these threads up so they are sticking out beyond the others by about 6cm. These are the two threads you are going to wind with first, and they hold the whole braid together.
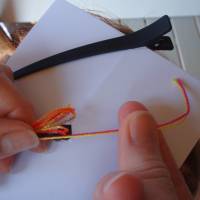
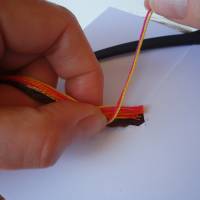
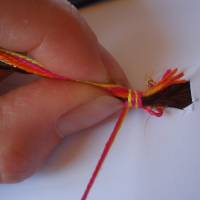
The position of your hand is important here. You need to be holding the hair and threads close to the top, but with about one cm or less of the threads showing. Wind the two threads that you pulled up around the whole bundle of threads and hair 3 or 4 times. After the first turn, pull the threads you are winding quite tight. If they aren't tight enough the braid will fall out. Don't wind right to the end of these threads, you need to leave at least about 2cm at the end.
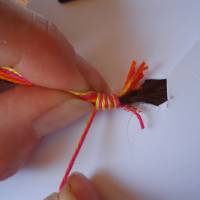
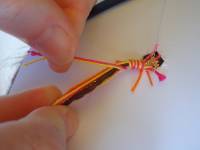
The next threadsNow you need to select another thread to wind with. Lift up one long thread, and start winding with it, making sure that it covers over the short ends left from the first threads you used. Be very gentle lifting this thread and making the first turn with it. It's very easy to pull it right out of the bundle. Once you have made one turn with it, you can safely pull it tight. This thread needs to be tight to hold the braid in the hair. Continue windingYou can continue winding with this thread. After every few turns, make sure that there are no gaps between the threads. You may have to use your finger and thumb to push the thread up and close any gaps. If you can't get the hang of this method of starting a hairbraid, check out the other method, or try practising on a piece of string first. Or continue to the next section for the next step in learning how to braid hair.
Return to the top of Hairbraiding basics - getting started |
