Plaited Yarn Braids
Plaited yarn braids are a fun way to decorate your hair. You can plait all sorts of yarns (wools), threads and ribbons into your hair. These instructions will show you what to do.
What sort of yarn or threads to use
Many kinds of yarn or threads will make great plaited yarn braids. You can experiment to find out what works.
Some things that don't work so well include eyelash or fringed yarn and very furry yarns. Very thin threads (like sewing cotton) will get lost amongst the hair.
Many knitting yarns (wool, cotton and acrylic) work well. 4-ply (Sportweight), double-knitting (worsted), aran (fisherman or medium) and chunky (bulky) weights can all work well.
Yarn that varies in width (thick and thin yarn) looks good, and ladder type yarns give a subtle but effective look.
Crochet cotton and pearl cotton threads (No 3 or 5) are good, as are similar weight metallic threads.
How much yarn do I need?
Decide how long you want your plaited yarn braid to be. Measure out a piece of yarn this length but don't cut it yet. The finished braid can be longer than your hair if you want.
Add about 10cm to this length
and then double it

And cut.

That will be one piece of yarn - but you need three (or maybe 6 if the threads are thin. The number of threads must always be divisible by 3.) Cut the others out of the same or similar thickness yarns.
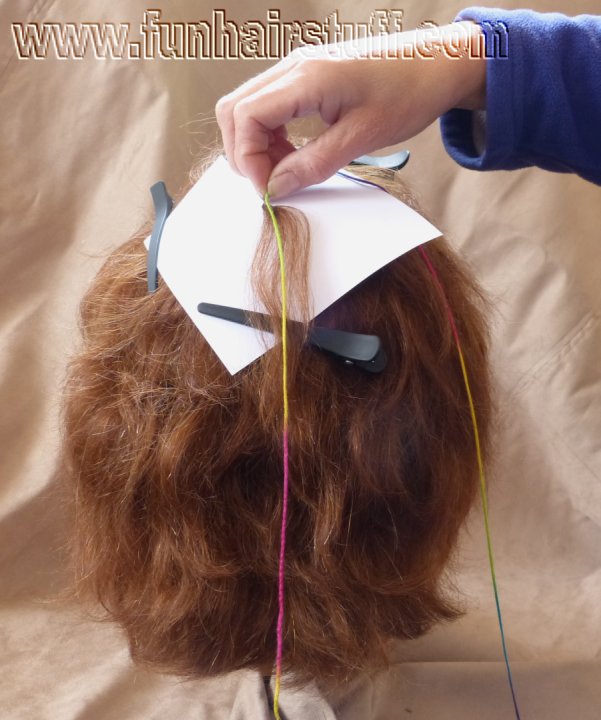
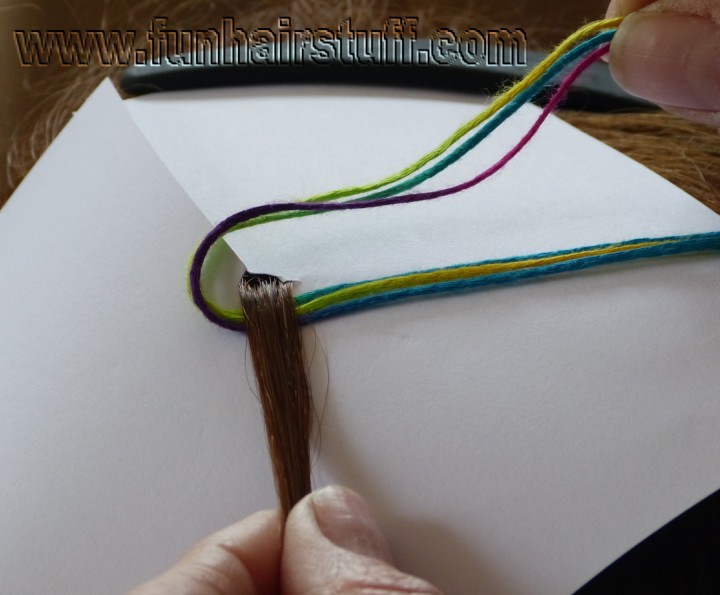
Fold all your pieces of yarn in half to find the centre.

Place the centre of all your yarn pieces under the hair you are going to plait it into. The section of hair should be no thicker than all the yarn together.
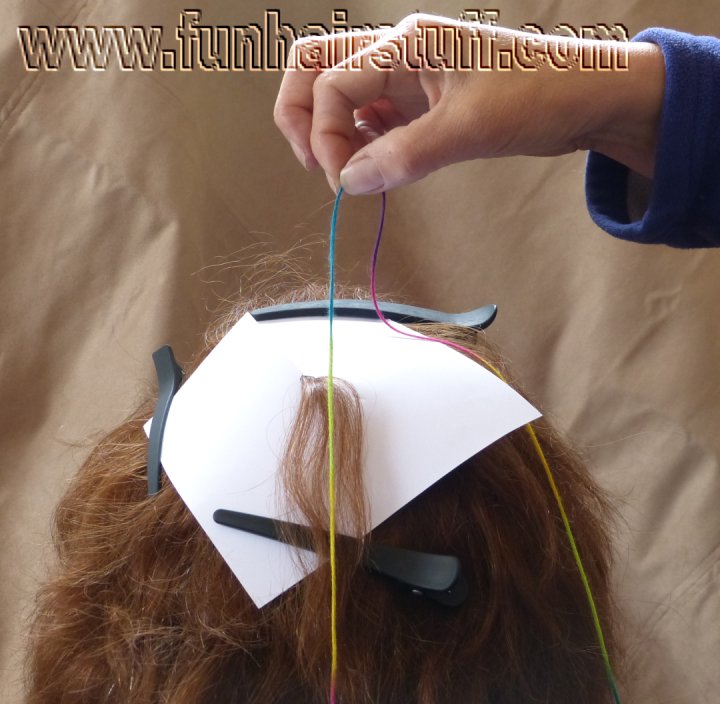
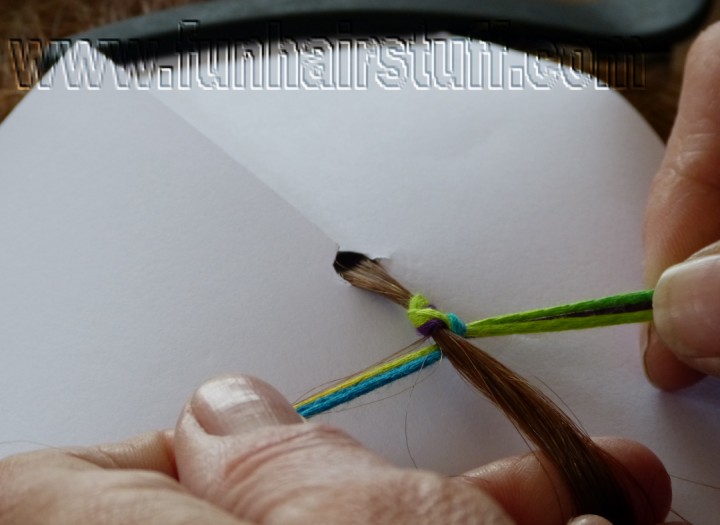
Pick up the yarn on one side of the hair and wrap it right around the hair once until it is back where it started.
Pull it tight.
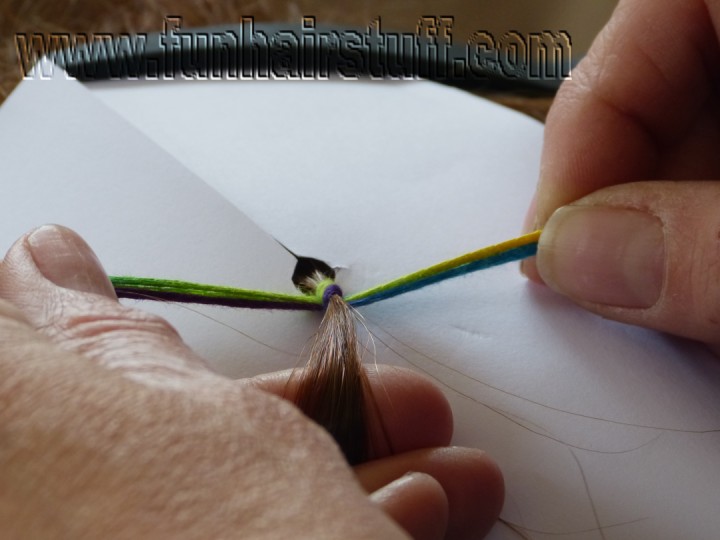
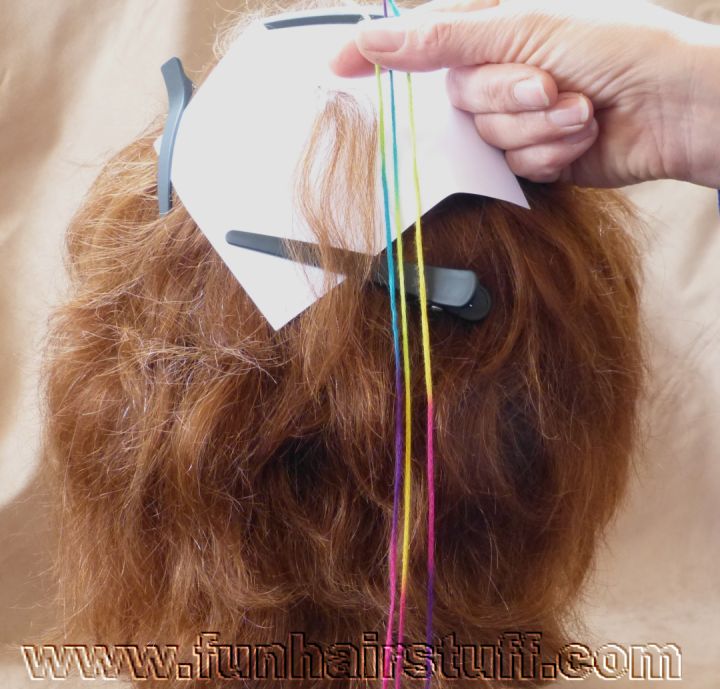
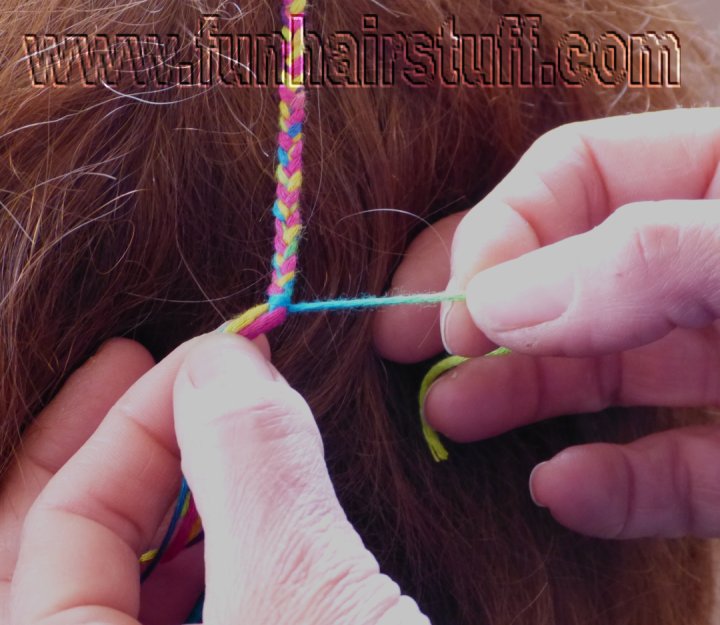
Now cross the threads on the left over the hair into the centre
and cross the threads on the right over the other threads into the centre
and cross the hair over the threads in the centre so that the hair is back in the centre.
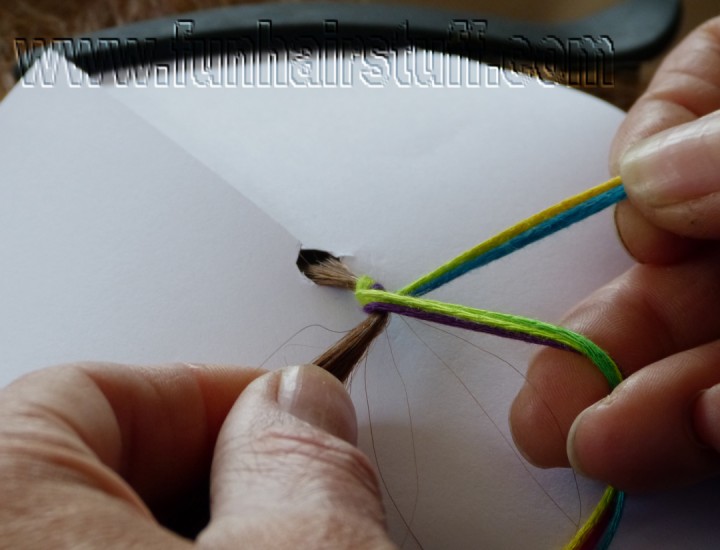
At this point you might need to push the threads back up to the top of the hair if they have slipped down.

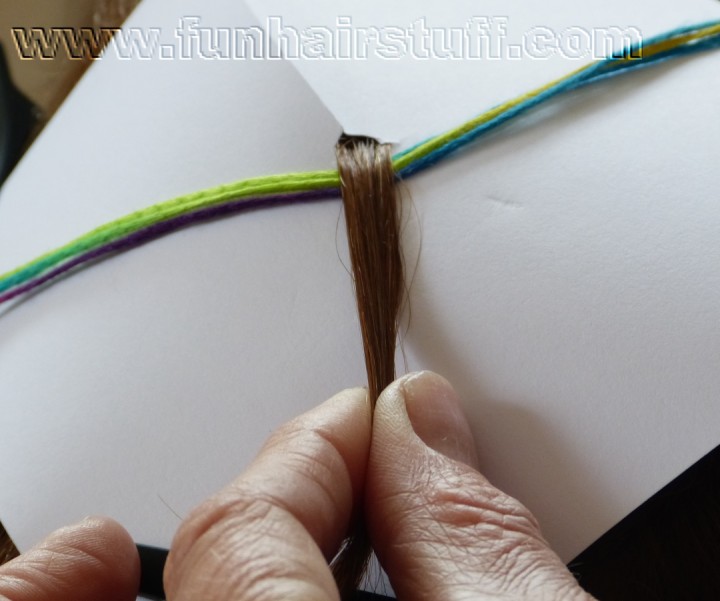
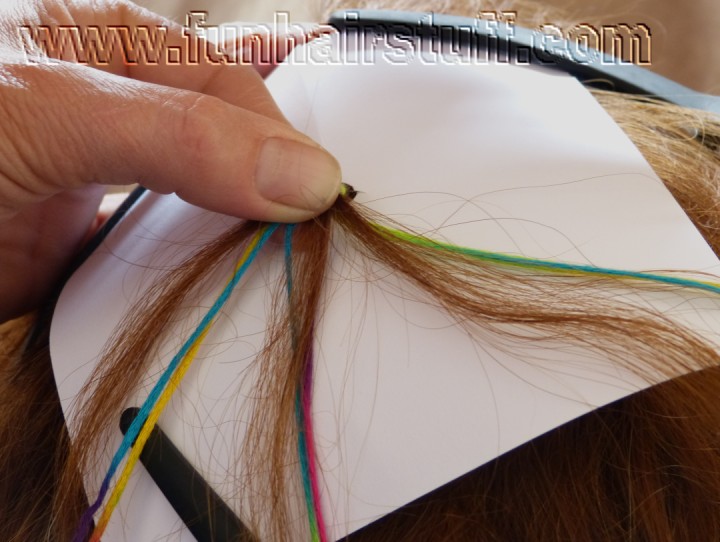
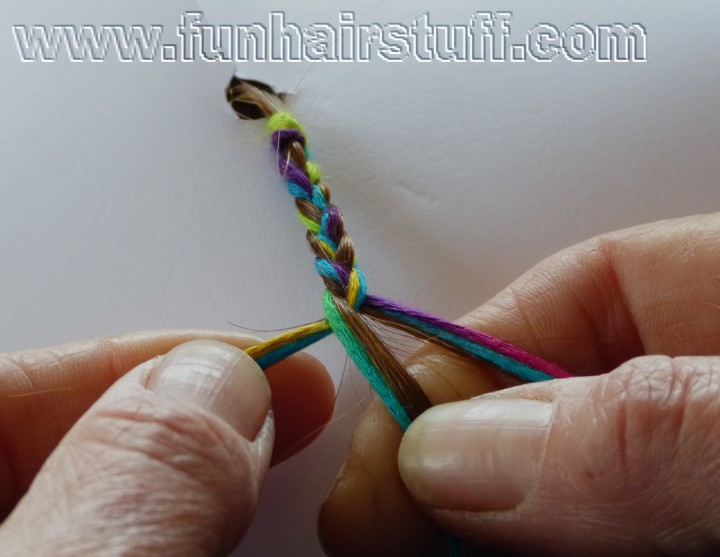
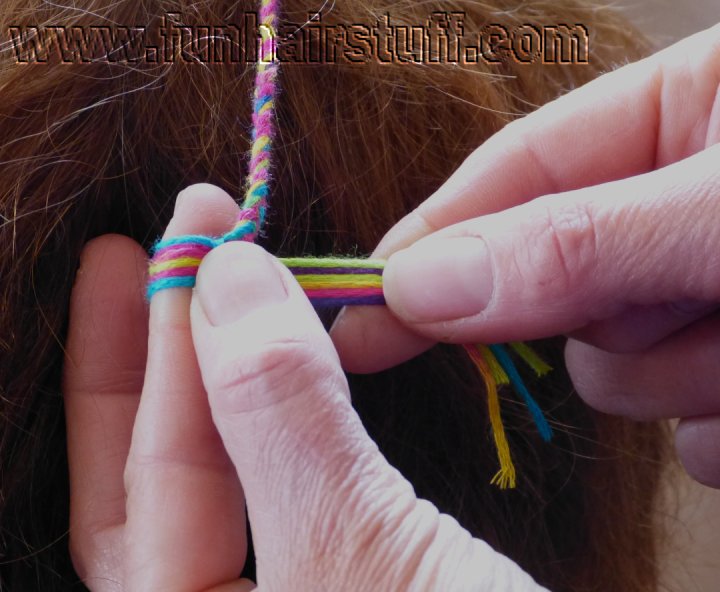
Now comes the tricky part. Separate the threads into 3 bunches (you will have 2 threads in each if you started with 3 strings, 4 in each if you started with 6 strings ). While you are doing this you have to hold on to the threads and hair that you already plaited so they don't come loose.
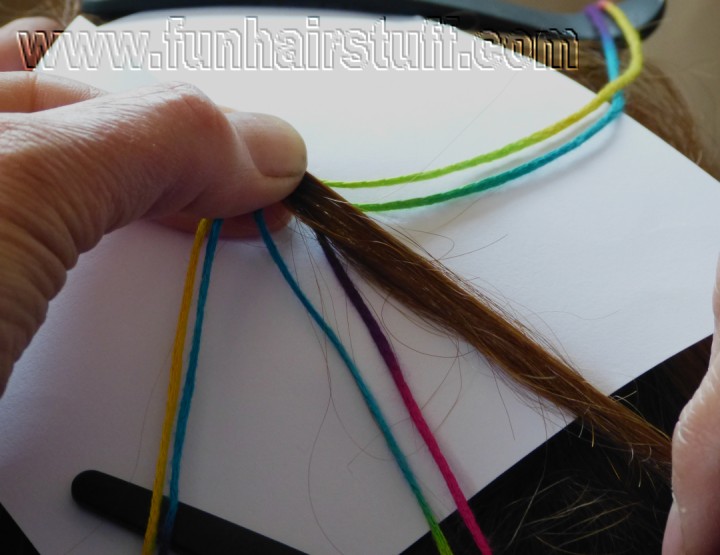
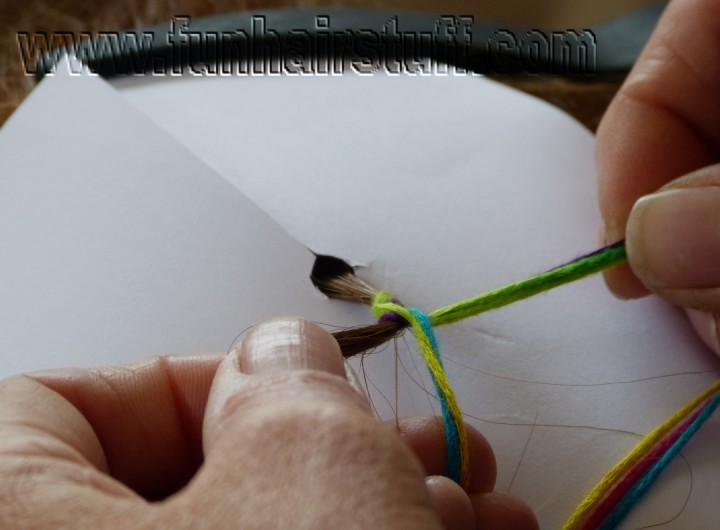
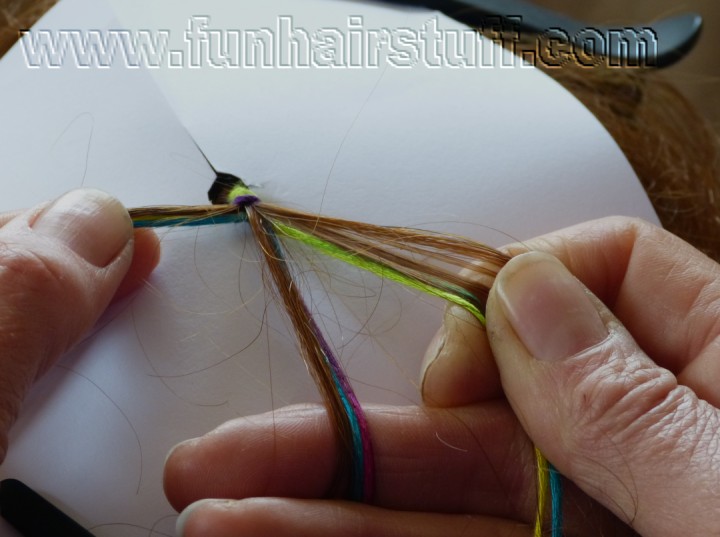
Now divide the hair into three bunches and add them to the 3 bunches of threads. You should end up with three lots of mixed hair and threads.
Now plait with the three bunches you just created until you reach just beyond the end of the hair, or until the braid is almost as long as you want it to be.
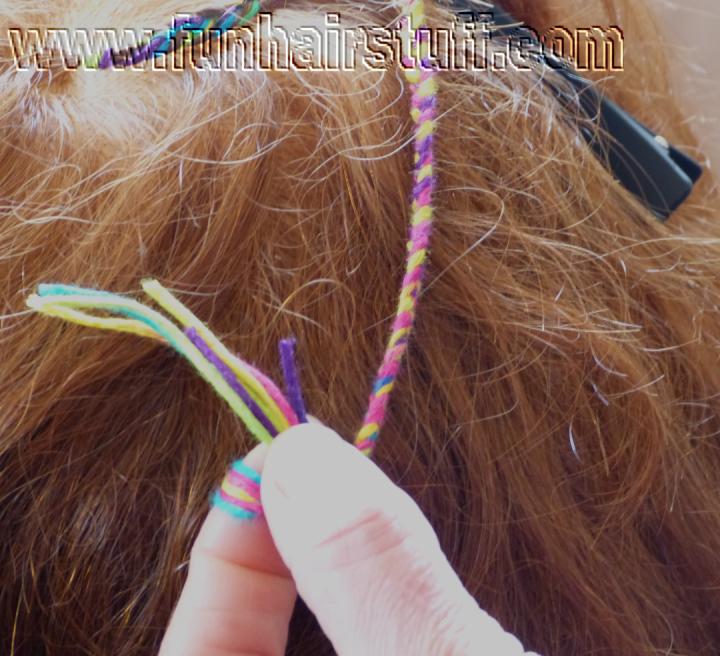
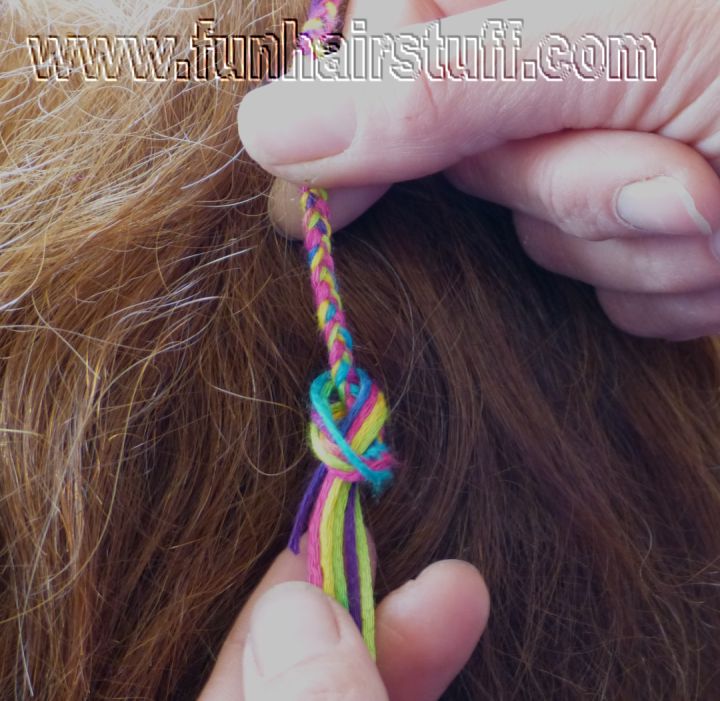
Hold the plait in one hand to stop it coming undone, and with the other hand lift one thread out to the side.
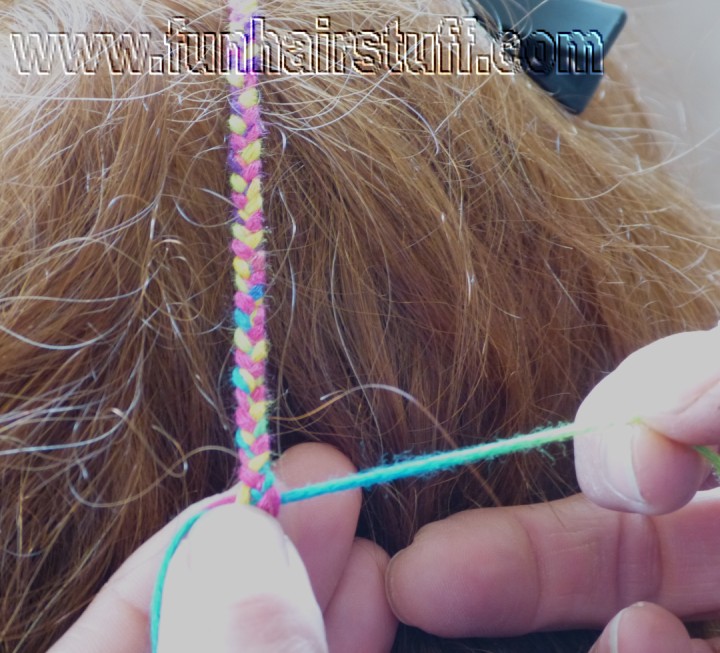
Take this thread over the braid, around your finger and around the back of the braid to make a loop. Now take the end of the same thread DOWN through that loop
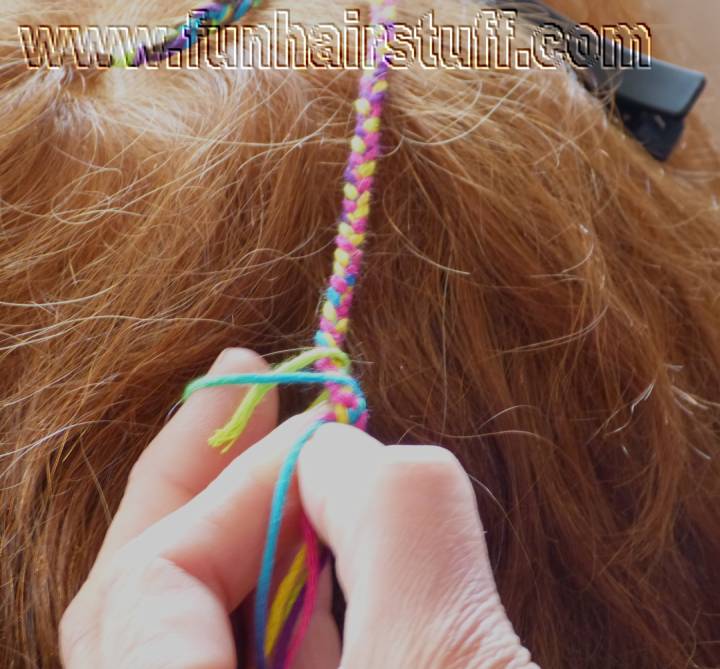
and pull it to make a knot.It is important that you go down through the loop, not up through it!
Pull the knot tight. it's now safe to let go of your plait braid because it won't come undone.
If you want to add beads or feathers to the end of your braid do it now before going any further.
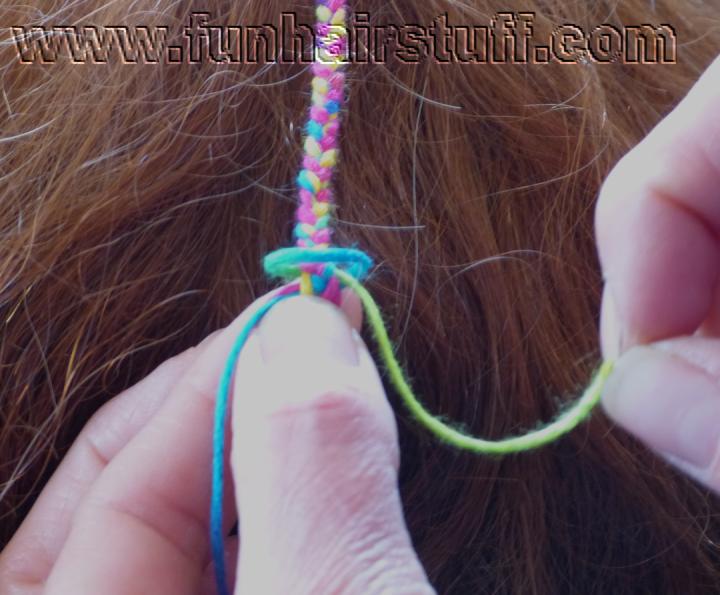
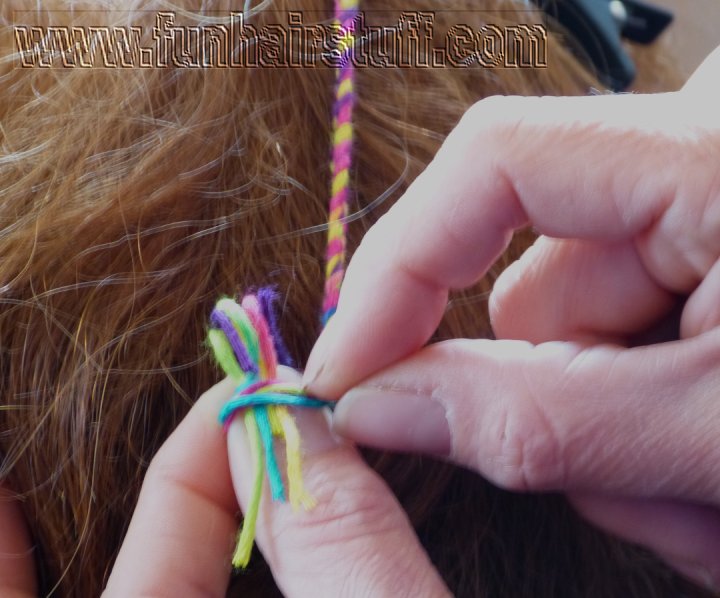
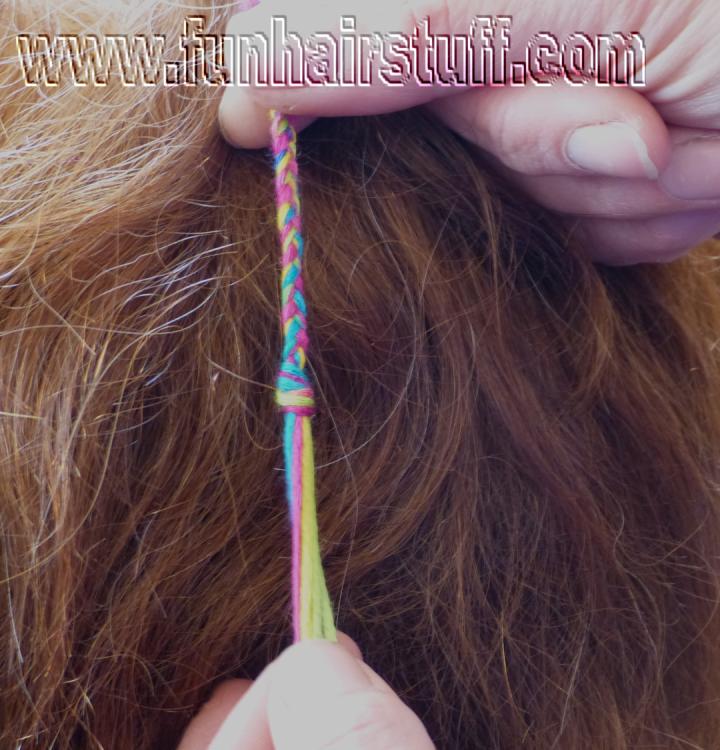
Then wrap all the threads in one bunch around the front of your finger, then around the back, all the time holding the end of the plait between your finger and thumb like in the picture.
Put the tail of the threads on your finger tip and grasp it between your finger and thumb as shown in the picture
Without letting go of the tail end of the threads, pull the loop of threads off your finger and over your thumb, then pull the ends of the threads out of the loop.
You can now let go. Pull the knot up neatly so that it sits at the end of the plaiting.
Pull it tight.
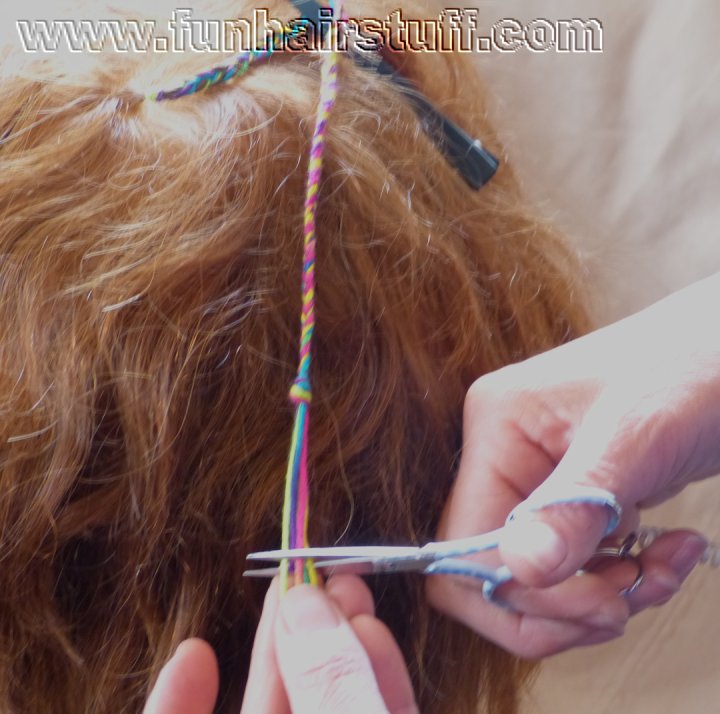
Trim the end of the braid to the length you want. Don't cut too close to the knot or it may come undone.
This is your finished plaited yarn braid!
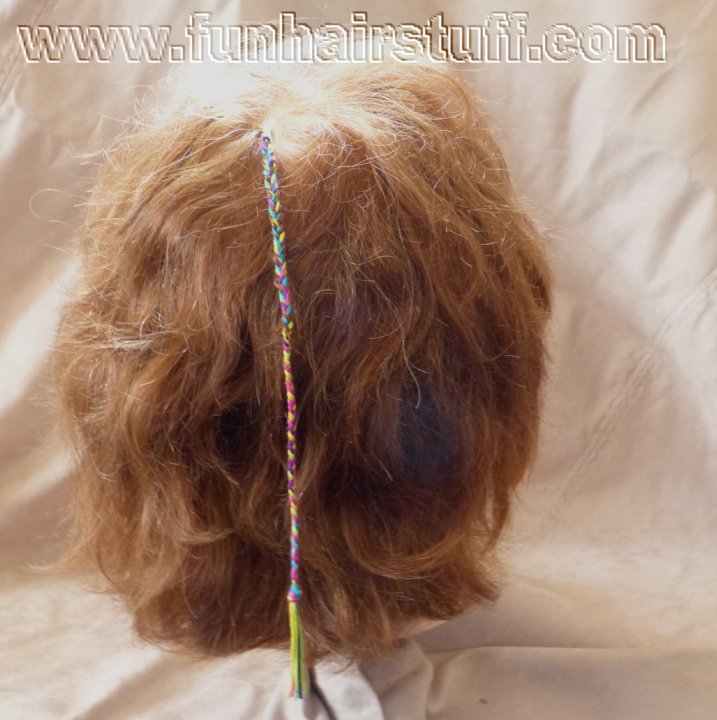
If you have plaited tightly, it should stay in for a few weeks. Experiment with different yarns to get different effects! Plaiting wool into hair is a cheap, quick and colourful way to make a braid.
Removing your wool plait
It's easier to remove a plaited yarn braid than a wrapped braid. First cut the knot off the bottom. (That's why we suggested plaiting beyond the length of your hair - so you don't have to cut your hair to remove the braid!) Now just unplait the hair and the threads. As there is no knot at the beginning of your wool plait, the threads should just slide out when you get to the top.
Return to the top of Plaited Yarn Braids
Return to home page from Plaited Yarn Braids